Published September 15, 2026
How to Identify Mid-Century Modern Furniture From a Photo
Why Mid-Century Modern Is So Easy to Misidentify From a Photo
Mid-century modern (MCM) furniture is one of the most photographed — and most mislabeled — categories in the secondary market. Estate-sale listings, Facebook Marketplace shots, and auction photos are full of “Eames” chairs that are not Eames, “Danish teak” sideboards that are later laminate, and “original Herman Miller” sofas that are recent repros. A clear photo can still tell you a lot: leg profile, joinery, veneer direction, hardware, and label placement are all visible if you know what to look for.
This guide is a practical photo checklist for chairs, tables, and sideboards from roughly the late 1940s through the mid-1970s. Use it before you bid, buy, or list. Pair it with a first-pass scan in Antique ID for a quick maker hypothesis and value range — remembering that any app estimate is not a certified appraisal.
What “Mid-Century Modern” Usually Means in Photos
In collector and reseller language, MCM is less a single style than a cluster of design cues: clean lines, organic curves, tapered or splayed legs, visible wood grain (often teak, walnut, oak, rosewood), and functional simplicity. Iconic makers and retailers — Herman Miller, Knoll, Heywood-Wakefield, Danish workshops, G-Plan, and many others — share overlapping silhouettes, which is why photos alone are never enough for a final attribution.
When you open a listing photo, ask four questions first:
- Do the legs and feet look tapered, splayed, or sculpted rather than thick Victorian turnings?
- Is the wood a warm veneer with continuous grain, or a busy printed laminate?
- Are joints visible (dowels, finger joints, floating tenons) or hidden with thick modern glue blobs?
- Is there a label, stamp, or metal tag under the seat, inside a drawer, or on the back panel?
If you need a refresher on photographing marks and overall views, see how to photograph an antique for identification. The same lighting rules apply to furniture — even more so for dark veneers.
Photo Tells for MCM Chairs: Legs, Seat Pans, and Underneath
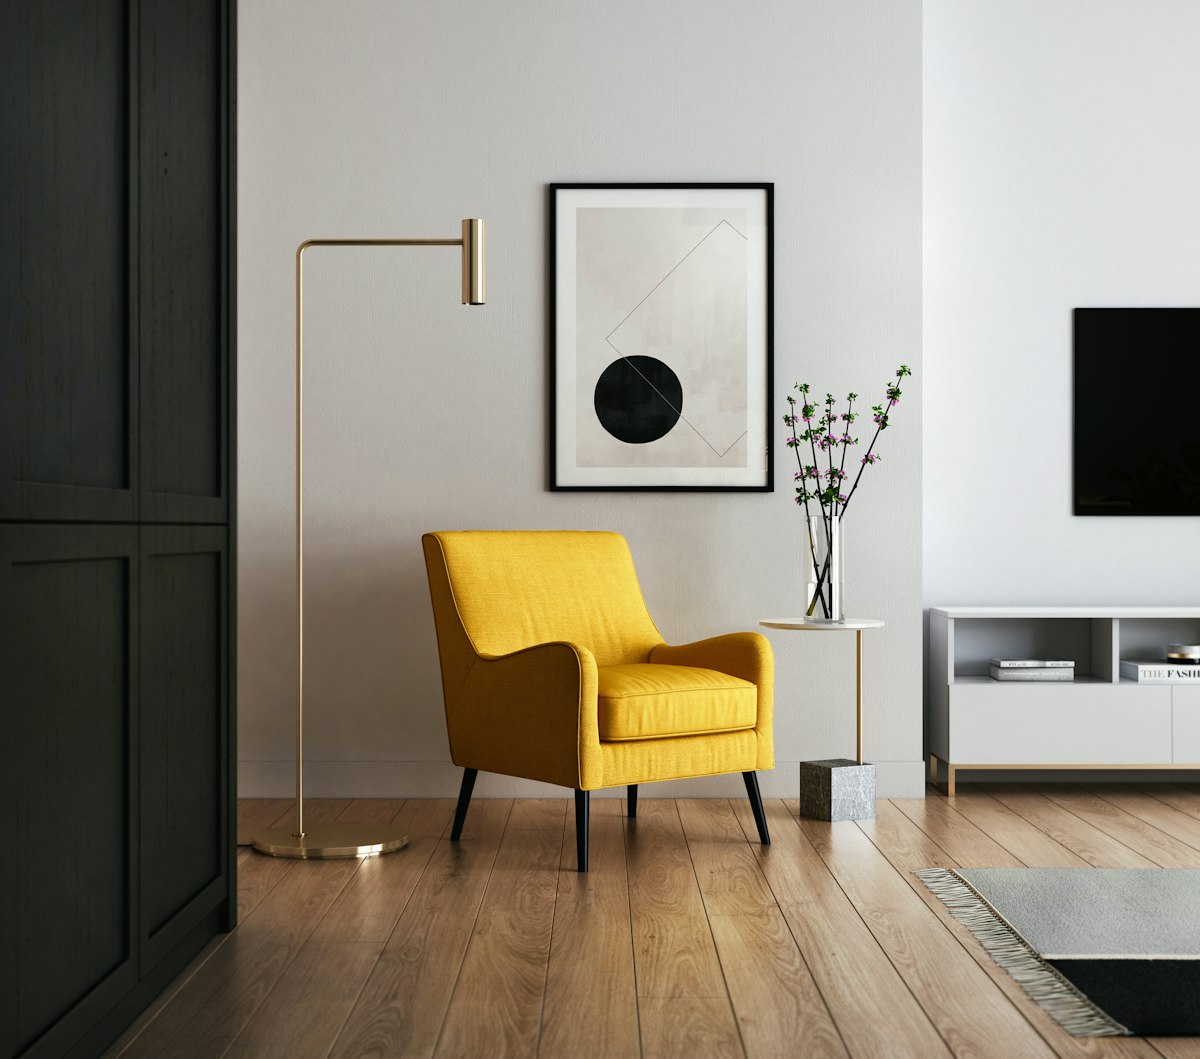
Chairs are where MCM photography either succeeds or fails. A single beauty shot from the front rarely shows the clues that separate a period piece from a flat-pack lookalike.
Legs and stretchers
Look for tapered cylindrical or square legs that thin toward the floor, often splayed slightly outward. Many Danish and American designs use a “wishbone,” sculpted arm, or continuous bentwood curve. Period legs usually show continuous grain and crisp transitions at the seat rail. Modern repros often have machine-perfect sameness with slightly plastic-looking finishes, or legs that are too thick for the seat scale.
Photograph one full side elevation (so the splay angle is measurable), one three-quarter view, and one close-up of a front leg where it meets the seat. Include any stretchers — their profile and joinery are strong period tells.
Seat pans, shells, and upholstery
Molded plywood shells, fiberglass seats, and cane backs photograph differently from foam-over-particleboard. Original plywood shells often show layered edges when you shoot from below or at a raking angle. Reupholstery is common and not automatically a deal-breaker, but factory-style welt lines, tufting patterns, and button placement can still point toward (or away from) a known model.
Always flip or tip the chair (safely) for underside photos: screws, brackets, foam type, and stamped model numbers live there. That underside shot is often the difference between a lucky guess and a confident ID.
Tables and Sideboards: Veneer, Edges, and Hardware
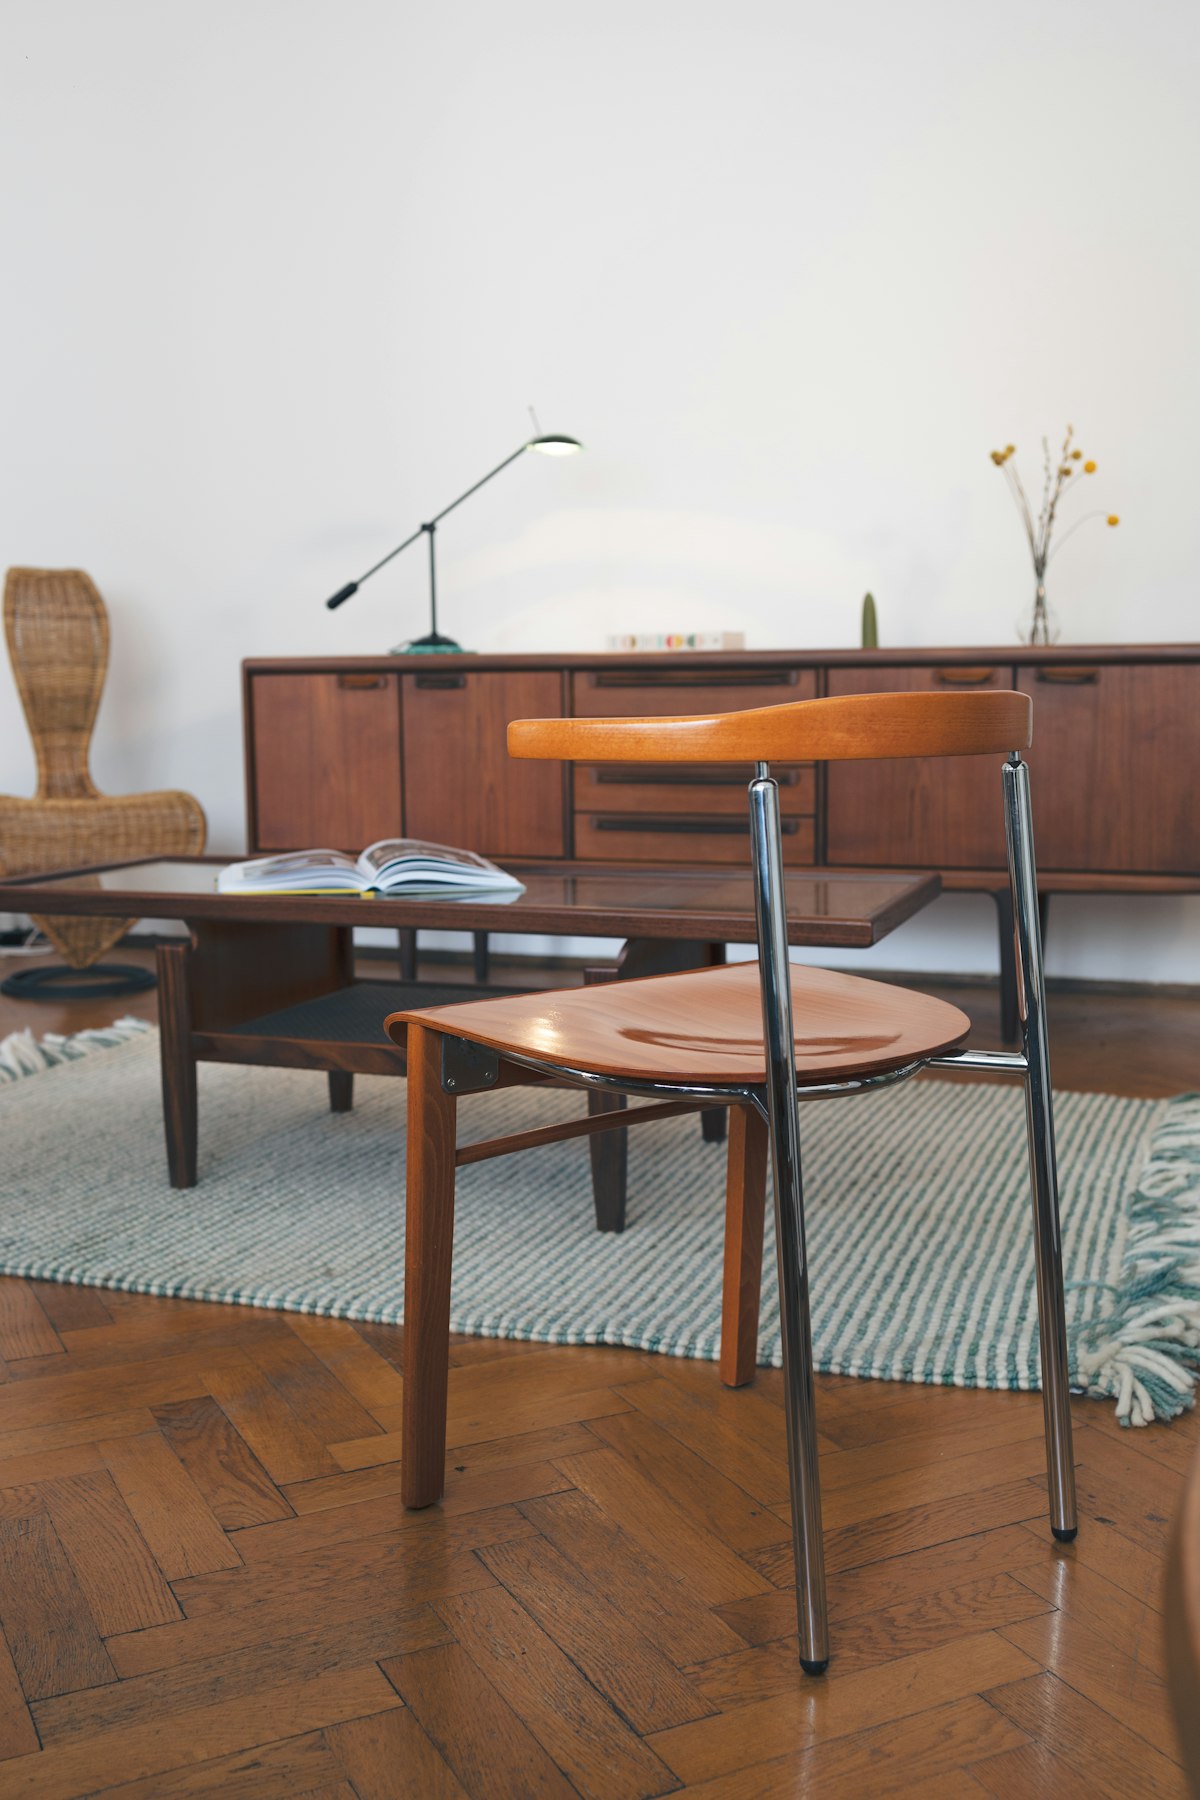
Case pieces and tables hide fewer secrets if you shoot the right details.
Veneer and edge banding
Period teak and walnut veneers usually show natural grain variation and book-matching across drawer fronts or table leaves. Shoot straight-on drawer banks so grain continuity is obvious. Edge banding that wraps corners cleanly is a good sign; thick plastic edge tape, peeling melamine, or grain that “wraps” unrealistically around corners often signals later production.
Table tops: photograph the edge profile (bullnose, knife edge, waterfall) and any leaf mechanisms. Extension tables from the era often have clever sliding hardware — a photo of the mechanism under the top is gold for identification.
Hardware and drawer construction
Pulls matter. Solid brass, sculpted wood, or integrated finger pulls are common on desirable pieces. Photograph hardware flush (to show shape) and at an angle (to show thickness and casting quality). Inside drawers, look for dovetails or quality machine joints versus stapled particleboard boxes. A single interior drawer photo can save you from a “teak” sideboard that is mostly board and laminate.
Labels, Stamps, and Paper Tags: Where Photos Should Zoom
Many MCM makers used paper labels, foil stickers, burned-in stamps, or metal tags. Common locations:
- Underside of chair seats and table tops
- Inside top drawers or on the back of drawer boxes
- Rear case panels of sideboards and cabinets
- Inside wardrobe doors or on hanging rails
Shoot labels square-on, fill the frame, and avoid harsh flash glare. If the label is half-gone, still photograph what remains — partial logos and serial formats are searchable. For a broader primer on marks across categories, read how to read maker’s marks and hallmarks.
No label? That is normal. Unmarked Danish pieces and retailer house lines are common. Style + construction + comparable sales still matter; a missing label does not automatically mean “reproduction.”
How to Shoot Furniture for Reliable Photo ID
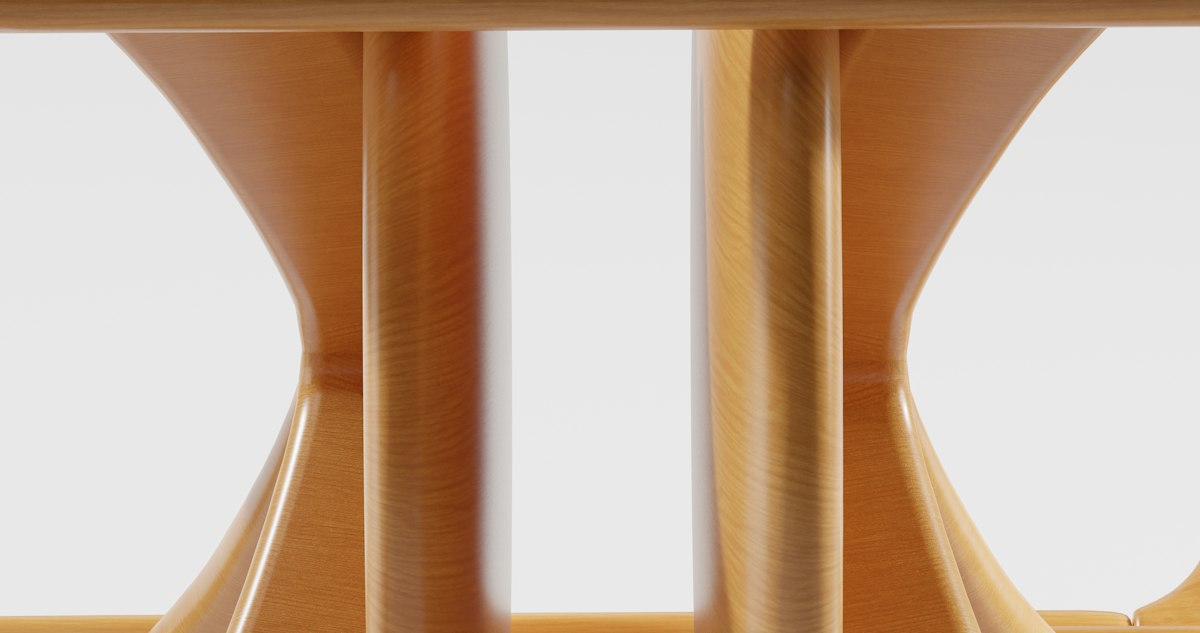
Phone cameras are fine if you control light and distance. Work through this sequence every time:
- Full front elevation — object filling most of the frame, camera level with mid-height.
- Side elevation — captures leg splay and depth.
- Three-quarter beauty shot — shows volume and proportion.
- Detail set — one leg joint, one edge/veneer close-up, one hardware close-up.
- Underside / interior — seats, drawers, back panels, labels.
- Scale reference — a tape measure in one shot, or a known object nearby.
Use diffuse daylight near a window; avoid mixed warm lamps that muddy wood color. Step back and zoom optically if you can — wide-angle distortion makes legs look longer and splay look exaggerated, which fools both humans and AI.
When you upload to Antique ID on the App Store, start with the clearest full shot, then add detail images if the first pass is ambiguous. Treat the result as a research starting point and value range, not a formal appraisal for insurance or probate.
Red Flags: Common Reproduction and “MCM-Style” Clues in Photos
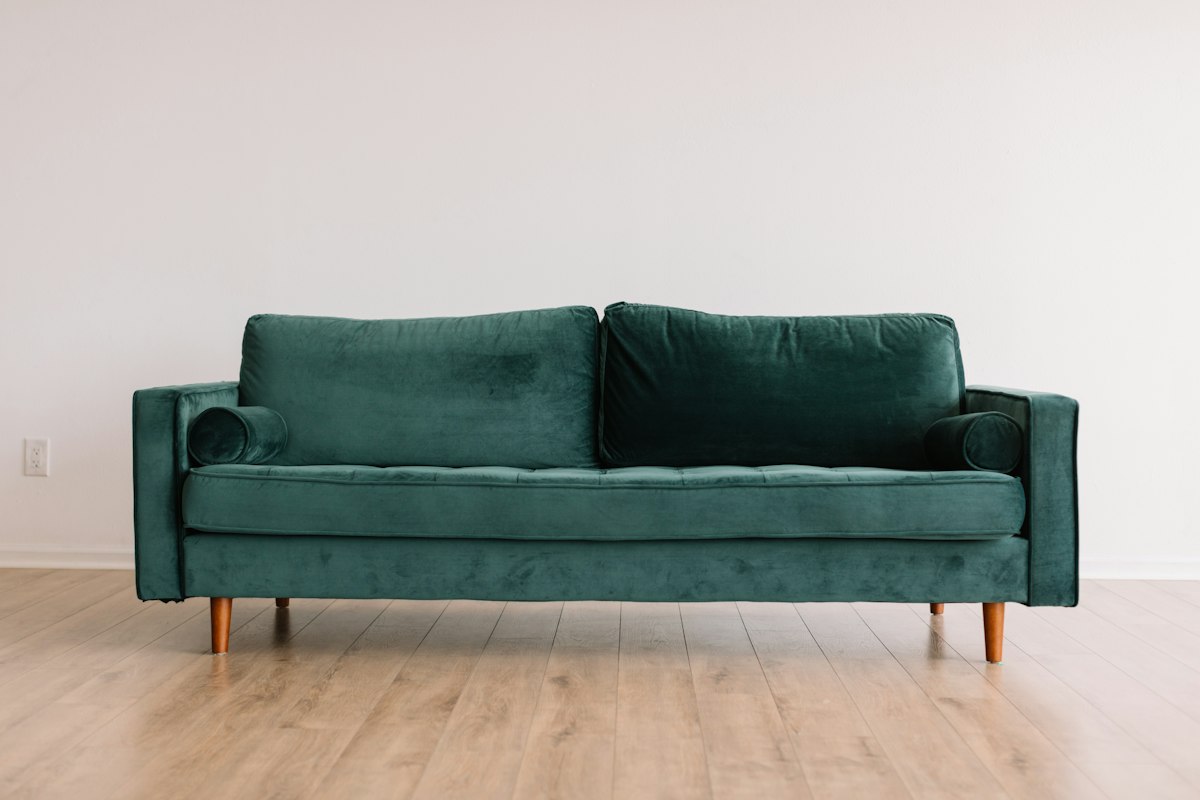
The secondary market is flooded with “mid-century style” furniture made decades later. Photo red flags include:
- Uniform orange “teak” stain on softwood with no natural grain depth.
- Particleboard cores visible at chip-outs, screw holes, or unfinished undersides.
- Phillips screws everywhere on pieces claiming 1950s origin (possible, but check the whole story).
- Laser-perfect “dovetails” that look printed or too shallow.
- Plastic glides and modern cam locks on supposedly Danish cabinets.
- Seller buzzwords without evidence — “Eames era,” “Nelson style,” “authentic MCM” with only lifestyle photos.
Compare against known silhouettes, but do not rely on silhouette alone — that is exactly how repros are marketed. Cross-check construction photos. For a wider authentication mindset across antiques, see antique vs reproduction: how to spot the difference and the fundamentals in how to identify antiques.
Using Antique ID as a First Pass (Not a Certified Appraisal)
Once you have a clean photo set, a fast workflow is:
- Run the best full-object photo through Antique ID for a maker/model hypothesis and rough value band.
- Upload a label or joinery close-up if the first result is generic (“wooden armchair”).
- Note the suggested comps, then verify against recent sold listings (not asking prices) for the same model and condition.
- Factor condition honestly: veneer lifts, smoking odor, replaced foam, and missing original upholstery all move the range.
Be transparent when you resell: “identified as likely [maker/model] based on photos and construction; value estimate from comps / app tool; not a certified appraisal.” Buyers trust that language more than inflated certainty. If you are building inventory for resale, the category overview in best antiques to resell is a useful companion for demand and platform fit.
Quick Room-by-Room Checklist Before You Click Buy
Use this as a final pass on any listing gallery:
- At least one true side view of legs?
- Underside or drawer interior shown?
- Hardware and edge banding visible?
- Label or stamp photographed (or seller confirms none)?
- Wood color consistent across shots (not one warm filter and one cool)?
- Any chip-out revealing substrate?
- Dimensions listed, and do they match known models?
If two or more answers are “no,” ask for more photos before you commit. Good sellers who own period pieces usually already have those shots — or will take them.
Bottom Line
Identifying mid-century modern furniture from a photo is less about naming a famous designer on sight and more about reading legs, joinery, veneer, hardware, and labels in a disciplined sequence. Shoot like an identifier, not like a lifestyle magazine. Use tools such as Antique ID for a fast first pass and value range, then confirm with construction details and sold comps. That workflow protects you at the flea market, on Marketplace, and when you list your own finds — without pretending a phone photo is a certified appraisal.
Identify antiques instantly with AI
Use the Antique ID app to photograph items, uncover their history, and estimate value before you buy or list them for sale.
Download Antique IDRelated articles
- How to Photograph an Antique So You Can Identify It (and Get a Value Range) Discover expert photography techniques to capture antiques for accurate identification—from lighting and angles to hallmarks that unlock value ranges.
- Antique vs Reproduction: How to Spot the Difference Practical clues that separate genuine antiques from modern reproductions—joinery, wear, marks, materials—and how a clear photo helps you decide what to buy, keep, or skip.
- How to Read Maker's Marks and Hallmarks on Antiques A practical field guide to finding and reading maker's marks and hallmarks—plus how a clear mark photo helps Antique ID suggest what you have and a value range.
- How to Identify Antiques: Expert Tips to Recognize True Value Learn to read wear patterns, understand historical construction techniques, and decode maker's marks to authenticate antiques like a pro.
- 7 Best Platforms to Resell for Profit in 2025 Compare eBay, Amazon, Poshmark, and other top marketplaces, plus pro tips to maximise margins on your vintage and collectible finds.