Published October 7, 2026
How to Identify Antique Jewelry From a Photo: Eras, Marks, Stones and Tells
Why Jewelry Identification from Photos Requires Different Skills
A piece of inherited or thrifted jewelry can sit in a box for years, its story lost. Is it a Georgian mourning ring, a Victorian paste brooch, an Art Deco diamond bar pin, or a 1970s reproduction? The difference matters—not just for value, but for knowing whether you are holding a family heirloom, a collectable period piece, or decorative costume jewelry.
Unlike furniture or silver, where construction methods and hallmarks often give clear date windows, jewelry hides its clues in tiny spaces: inside ring shanks, on clasp tongues, under stone settings, and in the way metals were worked. Style alone can mislead—Victorian revival pieces were made well into the 20th century, and modern jewellers still craft "Edwardian-style" rings for the bridal market.
This guide walks through the practical tells visible in good photos: period style markers by era, metal marks and their meanings, construction and setting methods, stone cuts and wear patterns, clasp and fastening evolution, and how to spot reproductions and marriages. You will learn what to photograph so identification tools like Antique ID can give you a useful first-pass estimate—and when to escalate to a qualified jeweller or gemologist.
Important: Any app-generated identification or value estimate is a research starting point, not a certified appraisal. For valuable pieces, insurance, or sale, consult a qualified jeweller, gemologist, or accredited appraiser who can examine the piece in person. A photo cannot certify gemstone identity, metal purity beyond what marks suggest, or detect sophisticated treatments and synthetics.
Jewelry Eras and Their Style Tells
Knowing the broad style periods helps you recognise what the maker was aiming for—and whether the execution matches the claimed era. Dates overlap and regional variations exist, so treat these as guides rather than rigid borders.
Georgian (c.1714–1837)
Georgian jewelry is rare in everyday finds but instantly recognisable when you encounter it. Expect hand-made construction with visible tool marks, irregularities in metalwork, and foil-backed stones in closed settings to enhance colour and brilliance. Rose-cut diamonds and flat-backed coloured stones are common. Designs include nature motifs, sentimental symbols (hearts, flowers, clasped hands), and memento mori themes. Yellow gold and silver-topped gold are typical; settings often show solder repairs and honest wear from centuries of use.
Surviving Georgian pieces command high prices and are frequently reproduced. If a seller claims Georgian, scrutinise construction quality, metal purity marks (often absent or later additions), and whether wear patterns make sense for 200+ years of age.
Victorian (1837–1901): Early, Mid, and Late Phases
The Victorian era spans three distinct jewelry phases, each with its own mood and materials:
Early Victorian / Romantic (c.1837–1860): Sentimental motifs dominate—flowers, bows, hearts, snakes (eternity and wisdom), hands. Yellow gold is prevalent, often in high carats (18ct or higher). Seed pearls, turquoise, garnets, and coral appear frequently. Lockets, brooches, and snake rings are iconic. Construction is still largely hand-made, with visible solder joins and hand-engraved detail.
Mid-Victorian / Grand / Mourning (c.1860–1880): The death of Prince Albert in 1861 ushered in mourning jewelry. Jet (fossilised wood), black enamel, onyx, and dark garnets were fashionable. Hair jewelry—woven or set under crystal—was common and deeply personal. Gold continued in use, but darker, heavier designs prevailed. Brooches, lockets, and memorial rings were standard. Construction becomes more standardised as mechanisation advanced.
Late Victorian / Aesthetic (c.1880–1901): Lighter, more playful designs return. Japonisme and Aestheticism influence motifs—fans, bamboo, birds, asymmetry. Diamonds become more accessible due to South African discoveries. Silver-topped gold settings for diamonds are common. Old mine and old European cut diamonds appear alongside rose cuts. Machine-made findings and more uniform construction reflect industrialisation. Star-set diamonds, crescent brooches, and cluster rings are typical.
Edwardian / Belle Époque (c.1901–1915)
Edwardian jewelry is delicate, refined, and platinum-driven. Platinum's strength allowed jewellers to create lacy, openwork designs (millegrain, filigree) that earlier metals could not support. Diamonds are set in platinum or white gold, often with fine millegrain borders (tiny beaded edges). Bow, garland, and wreath motifs dominate. Pearls—especially natural pearls—are prized. Edwardian pieces feel light and airy despite their diamond density.
Construction is precise and machine-assisted, though hand-finishing is still evident. Edwardian rings and brooches were revived heavily in the 1980s–1990s, so modern reproductions exist. Check for period-appropriate findings, wear consistent with age, and whether metal marks align with claimed dates.
Art Nouveau (c.1890–1910)
Art Nouveau jewelry breaks from the past with flowing, organic, asymmetric forms. Motifs include stylised women with flowing hair, dragonflies, butterflies, flowers, and peacock feathers. Enamel work—especially plique-à-jour (translucent enamel)—is a hallmark. Opals, moonstones, and unconventional stones replace the diamond focus. Makers include Lalique, Liberty & Co, and other studio jewellers who signed their work.
True Art Nouveau pieces are collectible and often marked. Reproductions exist but are usually identifiable by cruder enamel work, modern clasps, and generic casting rather than hand-finished detail.
Art Deco (c.1920–1939)
Art Deco is geometric, bold, and glamorous. Expect straight lines, chevrons, sunbursts, and stepped shapes. White metals (platinum, white gold) dominate, with diamonds, onyx, coral, jade, and sapphires in strong colour contrasts. Calibré-cut stones (precisely shaped to fit geometric patterns) are a signature. Cocktail rings, long drop earrings, and bar pins are iconic.
Machine-made precision is visible. Settings are clean, symmetrical, and often feature invisible or channel settings. Modern brilliant-cut diamonds replace old cuts. True Deco pieces have a confident, architectural quality; later revivals often look softer or use modern materials that betray their age.
Retro / 1940s
Retro jewelry from the 1940s is bold, chunky, and gold-heavy—partly due to platinum rationing during World War II. Yellow and rose gold dominate, often in large, sculptural forms. Ribbons, bows, flowers, and basket-weave patterns are common. Citrines, aquamarines, and synthetic rubies add colour. Cocktail rings and large brooches define the era.
Construction is solid and heavy. Machine fabrication is standard. Retro pieces are less delicate than earlier eras and have a confident, almost industrial aesthetic.
Mid-Century and Costume Jewelry (1950s–1970s)
Post-war jewelry includes both fine pieces and high-quality costume jewelry. Signed costume pieces by Trifari, Eisenberg, Miriam Haskell, and others are collectible in their own right. Fine jewelry from this period often features modern brilliant-cuts, abstract or modernist designs, and new materials like titanium or textured gold. Cocktail rings, charm bracelets, and statement necklaces are typical.
Costume jewelry uses base metals, rhinestones, art glass, and lucite. Quality varies widely. Signed pieces command premiums; unsigned pieces are valued for design and condition rather than materials.
Metal Marks and Stamps: The First Hard Evidence
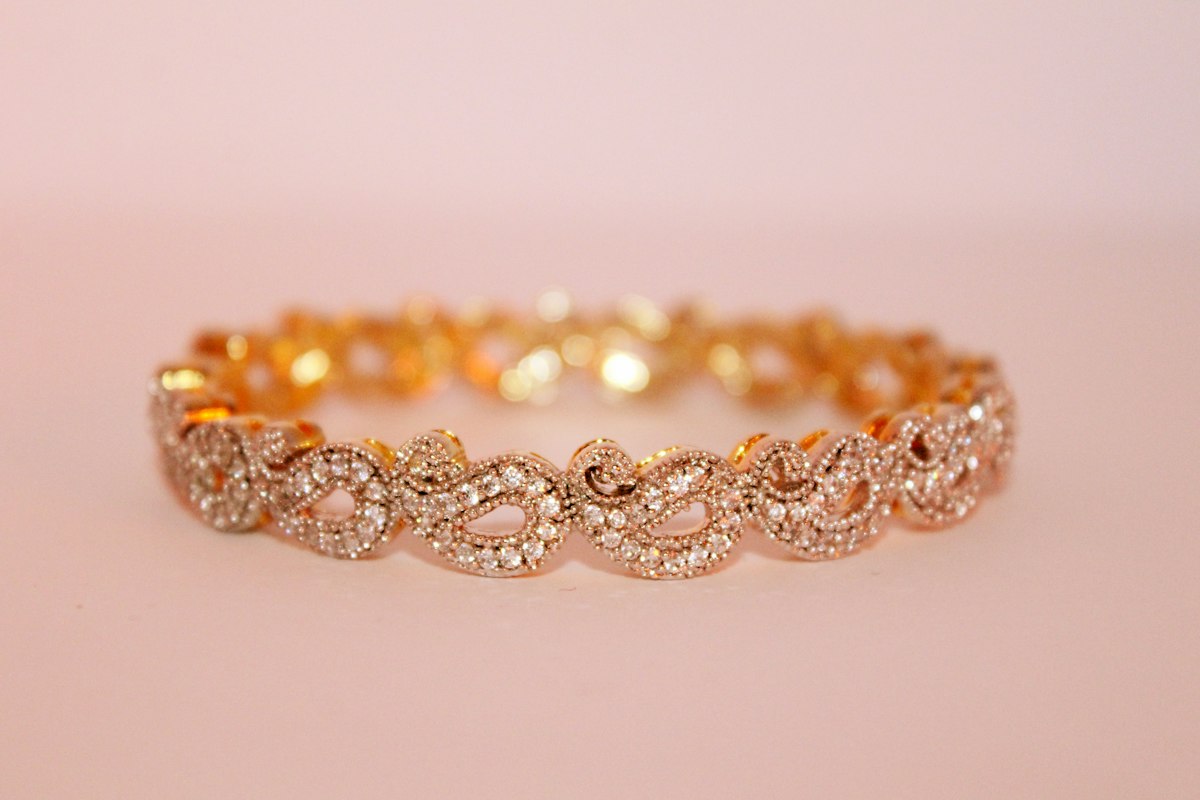
Metal marks are your strongest objective evidence after style and construction. They tell you purity, origin, and sometimes the maker. Learn to photograph and interpret them, and cross-check against the piece's claimed age.
Gold Marks and Standards
Gold purity is measured in karats (parts per 24) or as a decimal fineness (parts per 1,000):
9ct / 9K / 375: 37.5% pure gold, common in British jewelry from the late 19th century onward. Often stamped with a crown and "375" or "9ct" plus an assay office mark.
10K / 417: 41.7% gold, common in the United States but not used in British hallmarking.
12K / 500: 50% gold, less common, sometimes seen in American and European pieces.
14K / 585: 58.5% gold, popular in American and continental European jewelry.
18ct / 18K / 750: 75% gold, the traditional standard for high-end British and European jewelry. Often marked with a crown, "750," or "18ct" plus assay marks.
22ct / 22K / 916: 91.6% gold, common in antique British wedding rings and some Asian jewelry. Soft and prone to wear.
British gold jewelry from 1854 onward should show a crown mark, fineness number, and often an assay office symbol. Older pieces may have maker's marks but no standard marks. Absence of a mark does not prove a piece is fake—small items, repairs, and some imports were not always marked—but a clear, crisp mark is strong supporting evidence.
Gold-Filled, Rolled Gold, and Plated
Not all gold-coloured jewelry is solid gold. These marks indicate a surface layer over a base metal:
GF, RGP, 1/20 12K GF: Gold-filled or rolled gold plate. A thick layer of gold mechanically bonded to a base metal. Durable and collectible, especially in Victorian and Edwardian pieces, but not solid gold.
GP, HGE (Heavy Gold Electroplate), EP: Gold-plated. A thin electroplated layer. Wears through more easily than gold-filled. Common in costume jewelry and lower-cost pieces.
These are honest labels. Gold-filled Victorian lockets and brooches can be beautiful and valuable as antiques despite not being solid gold. The problem arises when sellers or buyers confuse plated for solid, or when marks are misleading.
Silver Marks
Sterling silver is 92.5% pure, marked "925" or "STERLING" in most systems. British silver should show a lion passant (England), thistle (Scotland), or harp (Ireland) plus assay office and date letter marks. American silver often shows maker's name and "STERLING." Continental silver may use "800," "835," or "925" with regional marks.
For detailed silver hallmark interpretation, see our guide on how to identify antique silver hallmarks from a photo.
Platinum Marks
Platinum became popular in jewelry from the Edwardian period onward. Marks include "PLAT," "PT," "950 PLAT," or "IRID PLAT" (platinum-iridium alloy). Edwardian and Art Deco pieces often use platinum for its strength and white colour. Earlier pieces claimed to be platinum but marked only with a maker's touch may be white gold—testing is required.
Maker's Marks and Patent Numbers
Costume jewelry makers often stamped their name, logo, or a patent number. Trifari, Coro, Eisenberg, Monet, Napier, Weiss, and others are recognised names. A clear maker's mark adds value and helps date the piece. Patent numbers can be looked up to narrow the date window.
For broader context on reading marks across materials, see how to read maker's marks and hallmarks.
Construction Clues: How the Piece Was Made
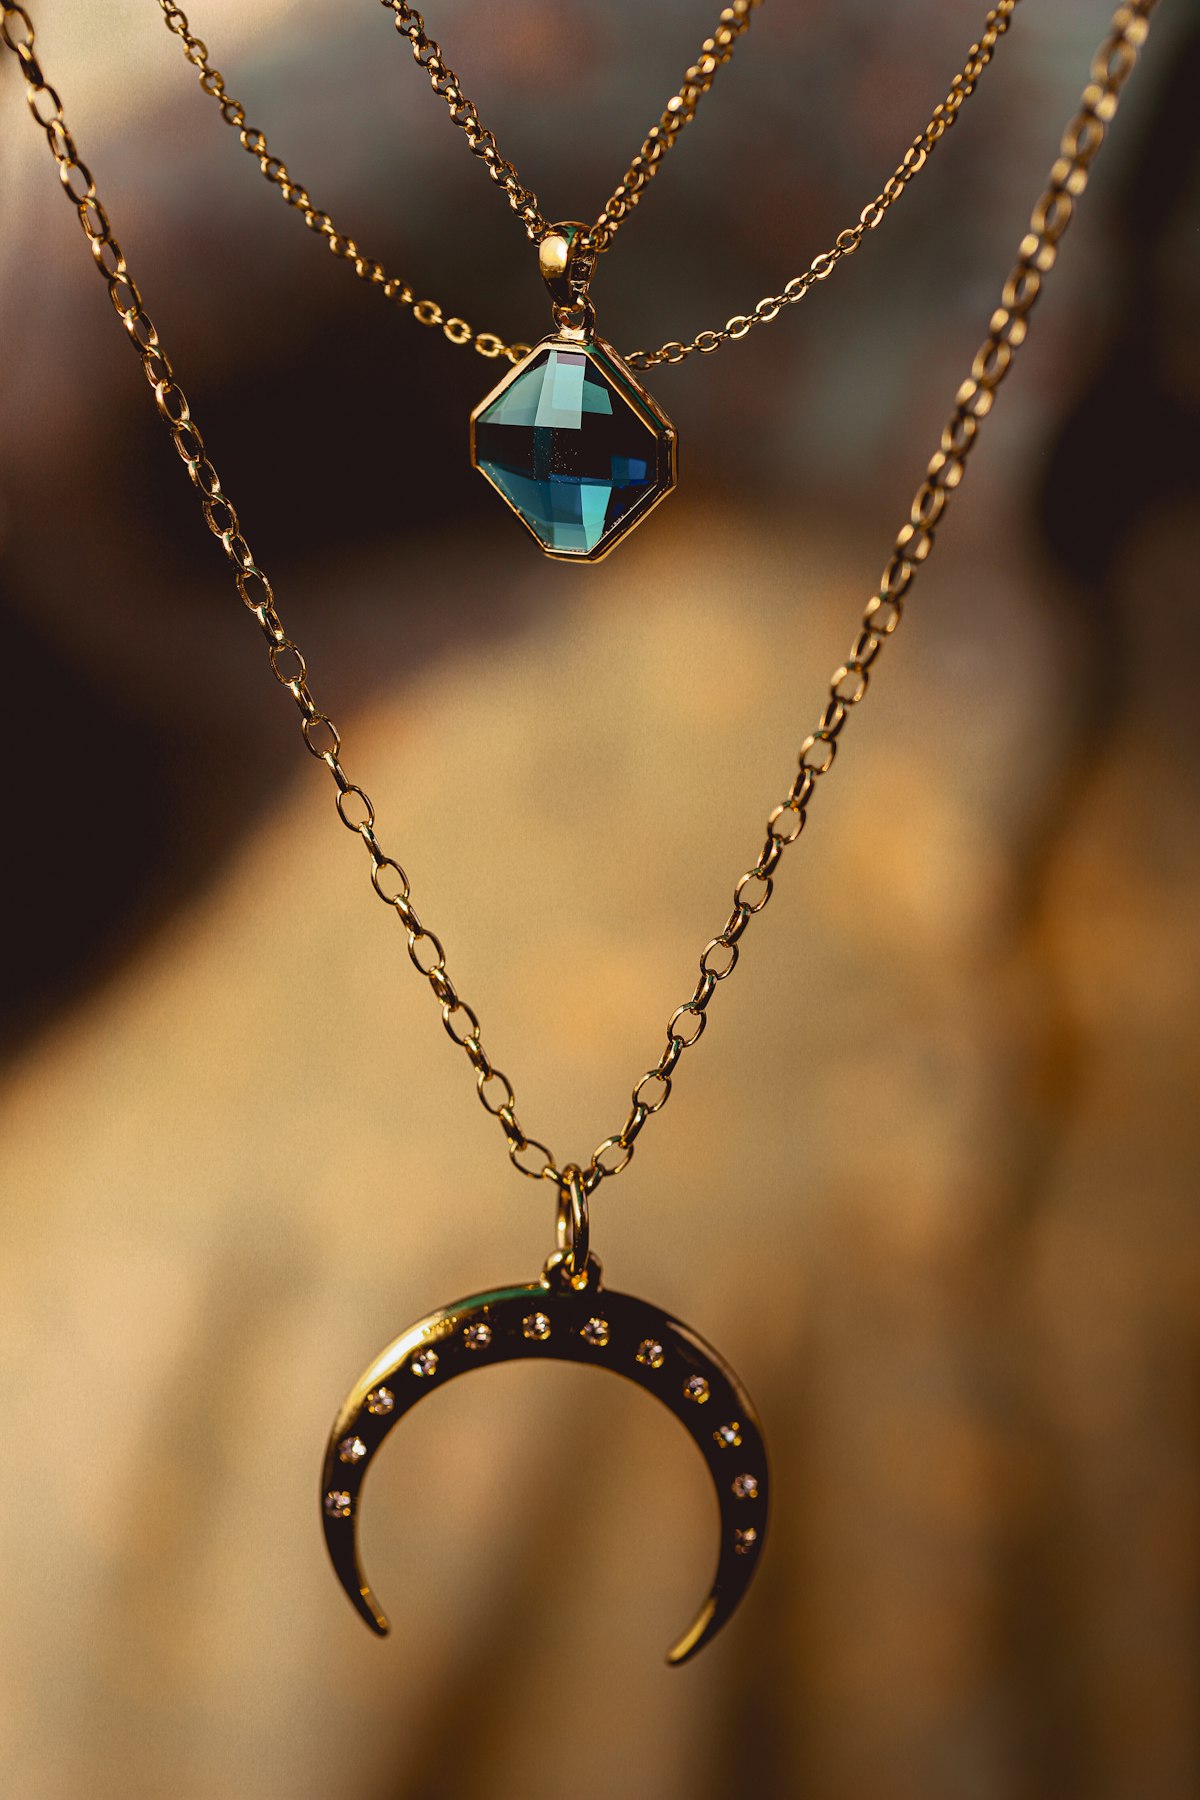
Construction methods changed as technology advanced. Hand-made pieces show tool marks, solder ripples, and slight irregularities. Machine-made pieces (post-1850s, increasingly common by 1900) show uniform thickness, sharp edges, and consistent forms. Neither is inherently better, but the method should match the claimed period.
Hand-Made Versus Cast
Pre-1850s jewelry is typically hand-fabricated: sheet metal cut, formed, and soldered; wire twisted and shaped; stones set individually. You might see file marks, uneven solder joins, and hand-engraved decoration. Georgian and early Victorian pieces often have this handmade feel.
Casting (especially lost-wax casting) became common from the mid-19th century onward. Cast pieces can be identified by the absence of solder joins in complex shapes, uniform thickness, and sometimes visible casting porosity or texture. Modern cast reproductions often lack the finishing detail of period cast pieces—check for sharp edges, crisp engraving, and hand-finishing that elevates a cast blank.
Settings: Closed-Back Versus Open-Back
Closed-back settings (where the back of the stone is enclosed in metal) are typical of Georgian and early Victorian jewelry. The back was often lined with foil to enhance colour and brilliance. These settings are heavier and protect the stone, but make cleaning difficult.
Open-back settings (where light passes through the stone) became standard by the late Victorian and Edwardian periods as diamond quality improved and platinum allowed finer work. Open settings are lighter and showcase the stone's transparency and cut.
Finding a closed-back setting on a piece claimed to be Edwardian is a yellow flag—either the piece is earlier (or a revival of an earlier style), or it is a reproduction mixing techniques. Context matters: some antique jewellers did rework older stones into new settings, creating honest "married" pieces.
Brooches: C-Clasps, Trombone Clasps, and Safety Catches
Brooch fittings evolved over time and can help date a piece:
C-clasp (c.pre-1900): A simple hook that catches into a C-shaped loop. Common on Georgian and Victorian brooches. No safety mechanism; the pin can work loose. Often shows wear at the hook tip.
Trombone clasp (c.1900–1930s): A sliding tube that locks the pin in place. More secure than a C-clasp. Typical of Edwardian and Art Deco brooches.
Safety catch or double-lock (c.1900 onward): A hinged safety that swings over the pin tip once the pin is closed. Standard on higher-quality brooches from the Edwardian period forward.
Reproduction brooches often use modern findings that look wrong for the claimed period—machine-rolled pin stems, stamped clasps with sharp edges, or fittings that show no wear. Photograph the back of any brooch to capture the clasp style and wear patterns.
Earrings: Backs, Clips, and Posts
Earring backs also evolved:
Screw-back (c.1900–1950s): Non-pierced ears. A threaded screw tightens a pad against the earlobe. Common in Edwardian through mid-century jewelry.
Clip-back (c.1930s–1960s): Spring-loaded clip for non-pierced ears. Often used on bold Retro and mid-century earrings.
Hinged lever-back or kidney wire (antique to present): For pierced ears. Wires are often thicker and less refined in antique pieces than modern ones.
Friction post and butterfly back (modern): The standard modern post-back with a push-on clutch. Rarely seen on genuine pre-1950s pieces (though they can be added during conversion from screw-back to post).
If a supposedly Victorian earring has modern post-backs, the fittings have been replaced—or the piece is not Victorian.
Chains, Clasps, and Findings
Hand-made chains (pre-1850s) show individual links with visible solder joins. Machine-made chains (post-1850s) are more uniform. Spring-ring clasps, lobster clasps, and barrel clasps each have their own introduction dates; early pieces used simple hook clasps, bolt rings, or box clasps.
Look for honest wear at high-friction points: clasp tongues, jump rings, and the back of pendants where they hang against the chain. New findings on old chains are common and not necessarily dishonest—but they complicate authentication.
Stone Cuts and Settings: What a Photo Can Tell You
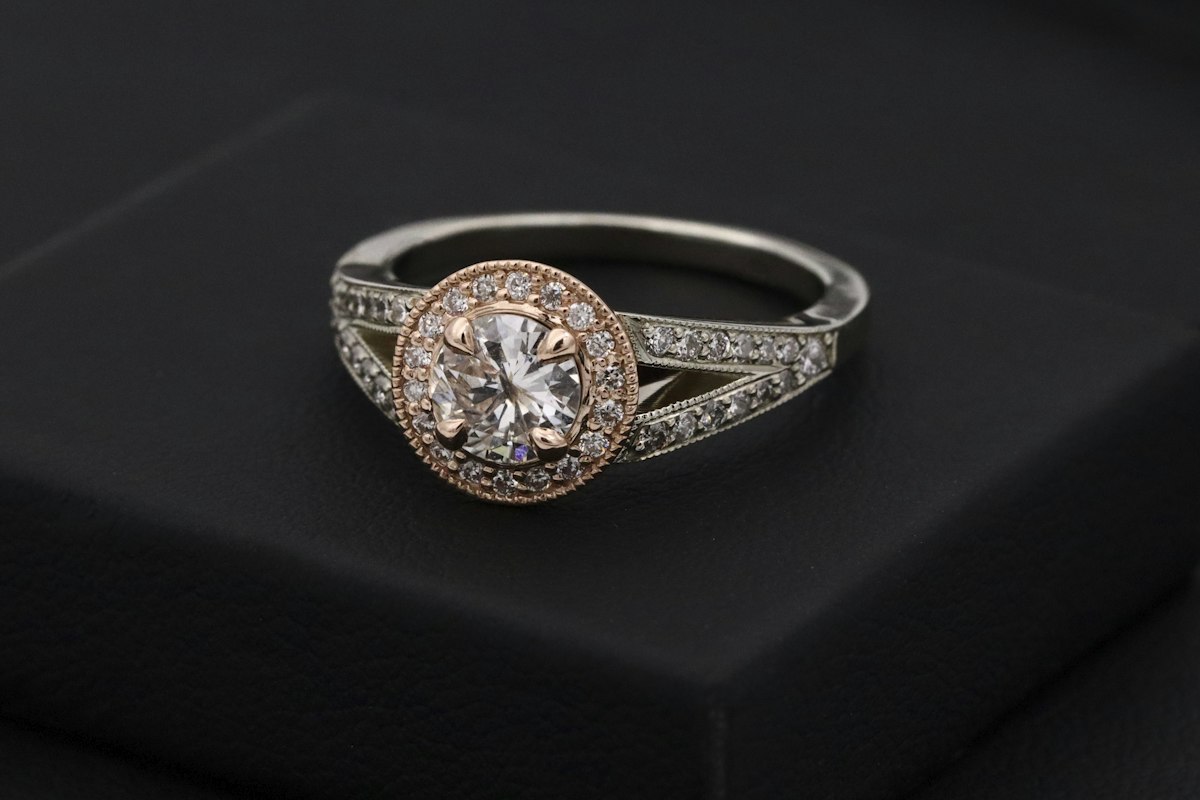
Diamond and gemstone cuts evolved alongside technology and fashion. A photo cannot certify that a stone is natural, untreated, or a specific species—but it can show the cut style and sometimes tell you the stone is not what it claims to be.
Old Mine Cut and Old European Cut Diamonds
Before modern brilliant-cutting became standard in the early 20th century, diamonds were cut by hand with different proportions:
Old mine cut (c.1700s–1890s): Squarish or cushion-shaped outline, high crown, small table, large culet (flat bottom facet visible through the table). Facets are chunkier and less symmetrical than modern cuts. These diamonds look softer and more romantic under candlelight.
Old European cut (c.1890s–1930s): Rounder outline, similar high crown and visible culet, but more regular faceting than old mine cuts. Transitional between old mine and modern brilliant cuts. Common in Edwardian and Art Deco jewelry.
If a ring claimed as Victorian shows a modern ideal-cut brilliant diamond with perfect symmetry and no visible culet, the stone is likely a later replacement or the piece is a reproduction. Old-cut diamonds were often recut into modern brilliants in the mid-20th century to increase brilliance, so "married" pieces exist.
Rose Cut Diamonds
Rose cuts have a flat bottom and a domed top covered in triangular facets, resembling a rosebud. They were popular from the 16th to 19th centuries, especially in Georgian and early Victorian pieces. Rose cuts do not sparkle like brilliant cuts—they glow. If you see rose cuts in a piece, it is either genuinely old or a deliberate revival piece. Modern jewelry rarely uses rose cuts unless aiming for an antique aesthetic.
Paste, Rhinestones, and Doublets
Not all sparkle is diamond:
Paste (glass): High-quality Georgian and Victorian paste jewelry is collectible and can be beautiful. Paste has a softer, warmer glow than diamond. Facet edges show wear and rounding under magnification (a photo might catch this with macro focus). Paste is heavier than similar-sized rhinestones.
Rhinestones: Leaded glass or crystal with foil backing to enhance brilliance, common in costume jewelry from the 1920s onward.
Doublets and triplets: Stones assembled from layers (e.g., a thin slice of precious stone glued to glass). Victorian jewellers used doublets to make expensive stones go further. A photo might show colour inconsistency or a visible seam at the girdle, but in-person inspection is usually needed.
A photo cannot conclusively identify a stone species, but it can show whether the stone behaves like a diamond (high fire, sharp reflections) or like glass or synthetic material (softer reflections, different colour play).
Pearls: Natural, Cultured, and Imitation
Pearls were prized in Victorian and Edwardian jewelry, especially natural pearls before culturing became commercial in the 1920s. From a photo, you cannot definitively tell natural from cultured or imitation, but you can note:
Surface texture: Natural and cultured pearls have slight surface irregularities. Imitation pearls (glass or plastic) often look too perfect and uniform.
Lustre and orient: Real pearls have a deep, layered glow. Imitations look flat or overly shiny.
Drill holes: Real pearls show a clean drill hole with layers visible under magnification. Imitations may show paint or coating flaking at the hole.
Seed pearls (tiny natural pearls) were common in Victorian jewelry. If a piece has hundreds of tiny pearls in floral or scrollwork patterns, it is likely period or a high-quality reproduction.
Facet Wear and Stone Condition
Old stones show wear: facet edges may be slightly rounded, girdles may have nicks, and surfaces may show scratches. Diamonds are hard but not immune to wear over a century. If a stone in a supposedly Victorian ring looks pristine with razor-sharp facet junctions, it may be a replacement or the piece may be newer than claimed.
Fakes, Reproductions, and Married Pieces
The antique jewelry market has its share of reproductions, fantasy pieces, and marriages. Knowing the red flags protects your wallet and keeps your collection honest.
Modern Reproductions
High-quality reproductions of Victorian, Edwardian, and Art Deco styles are made today for the bridal and costume market. They often:
- Use modern materials: rhodium plating, cubic zirconia, synthetic stones, modern alloys
- Show machine precision without hand-finishing: uniform thickness, sharp edges, no tool marks
- Have modern findings: post-backs on earrings, modern spring-ring clasps, trombone clasps with no wear
- Feature marks that are too crisp or in modern fonts: laser-etched hallmarks, "925" in sans-serif, no assay marks on supposedly British pieces
- Lack patina or wear in the right places: no darkening in recesses, no wear on high-contact points like ring shanks or clasp edges
A good reproduction is not a fake if sold honestly. The problem arises when it is represented as antique.
Married Pieces
Marriages are assemblies of old and new parts: an antique stone in a new setting, old findings on a new chain, or a period brooch converted to a pendant. These pieces can still have value but should be priced and sold as marriages, not as wholly original antiques.
Clues include mismatched wear (new shank on an old ring), solder colour differences, style inconsistencies, and marks that do not match the construction period. For broader guidance on spotting reproductions, see antique vs reproduction: how to spot the difference.
Fantasy Pieces and Made-Up Marks
Some sellers add "antique-style" marks to new pieces or invent plausible-sounding maker's marks to boost value. Be wary of pieces with marks that cannot be verified, stories that sound too good ("belonged to royalty," "found in an estate"), or prices that are far below market for the claimed quality.
What to Photograph for Antique ID
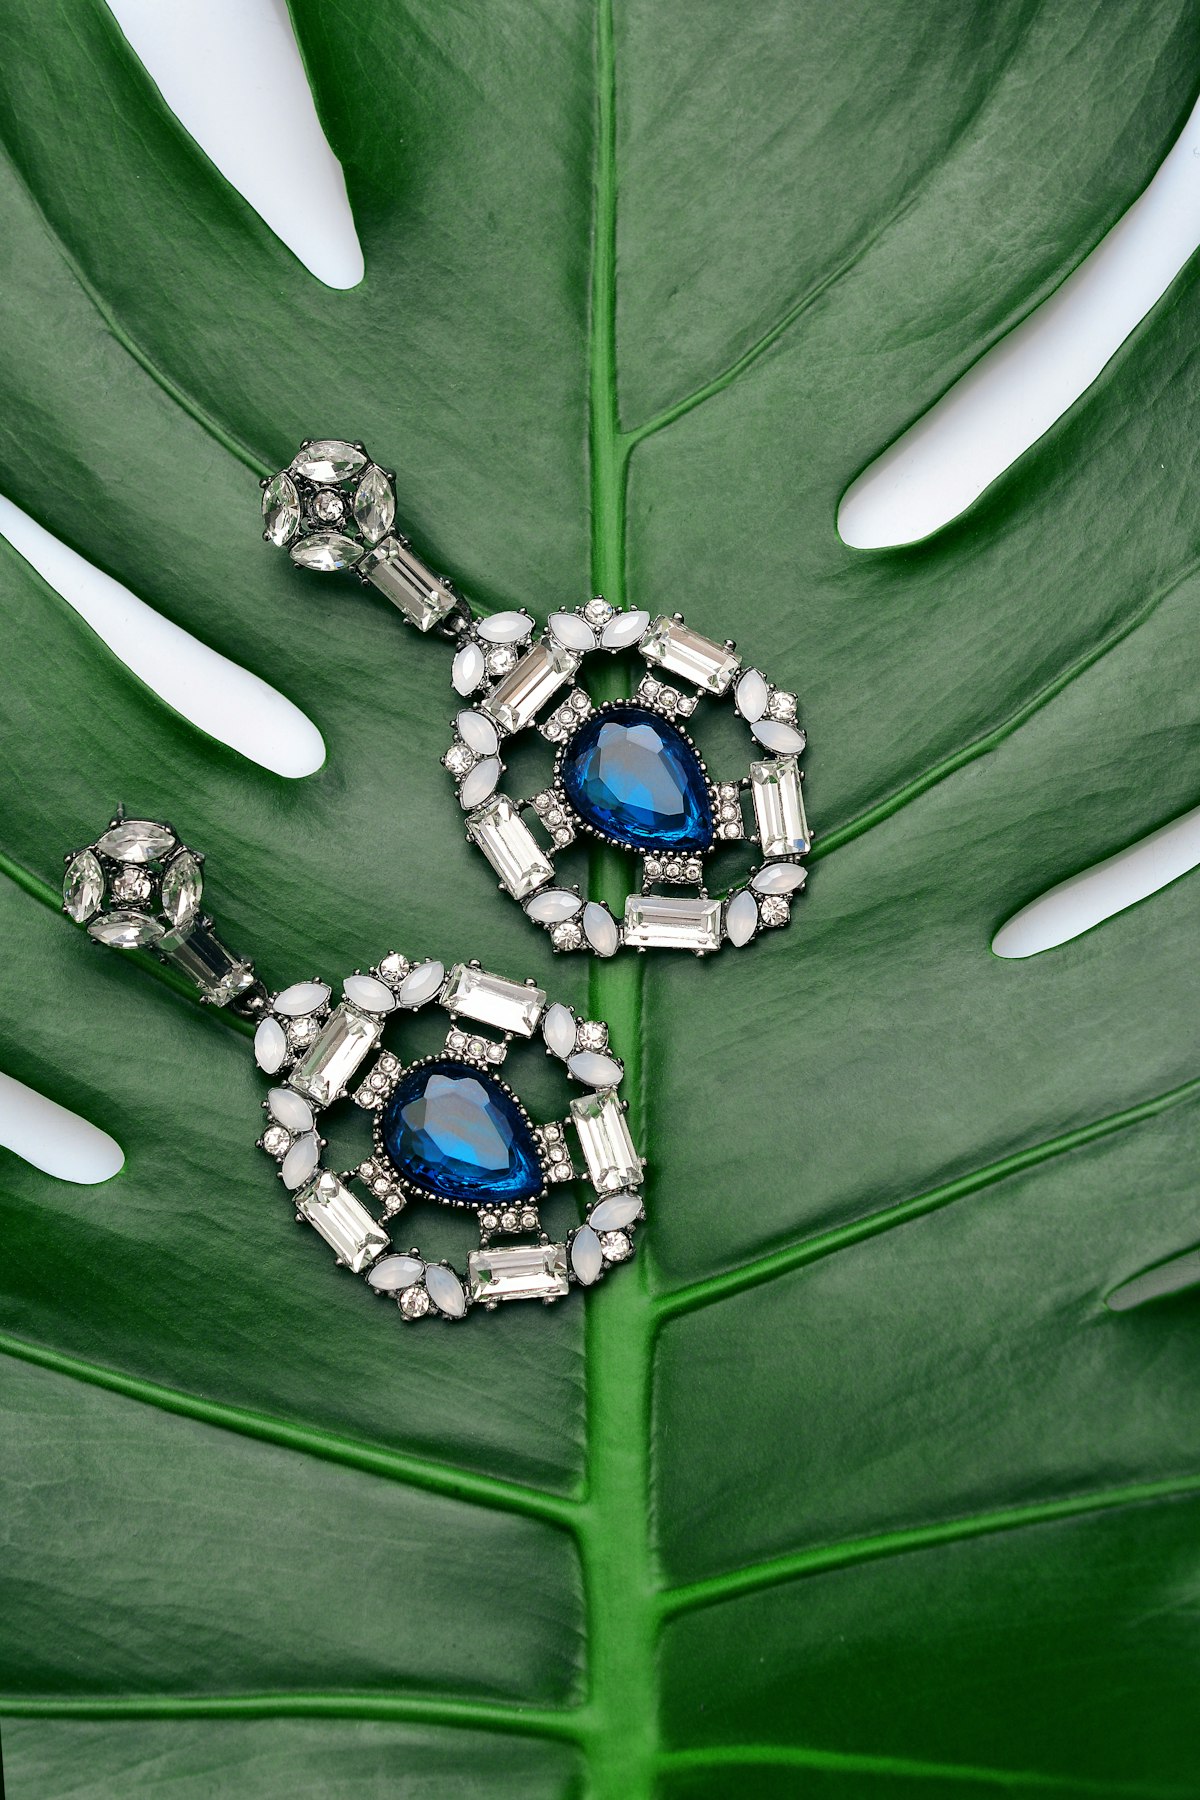
Good photos are the foundation of accurate remote identification. Follow this checklist every time:
1. Overall front view: The piece laid flat or displayed as it would be worn, good natural light, clean background, sharp focus. This shot establishes style, design, and overall condition.
2. Back view: Show the reverse of brooches, pendants, and rings. Capture any marks, hallmarks, solder joins, and construction details. Brooch clasps and earring backs are critical dating clues.
3. Marks and stamps in focus (macro): Fill the frame with any hallmark, maker's mark, purity stamp, or patent number. Use macro mode or a clip-on lens. Side lighting (a small torch at a low angle) brings out shallow stamps. Take multiple angles—one will catch the serif or curve you need.
4. Clasp or fastening close-up: Photograph the clasp on brooches, necklaces, and bracelets. Clasp style and wear patterns help date the piece and show whether findings are original.
5. Stone close-ups: Get as close as your camera will focus on each significant stone. Capture the cut style (facet pattern, culet, table size), any inclusions or flaws, and the setting. This helps identify old cuts, paste, or modern replacements.
6. Scale reference: Include a ruler, coin, or fingertip in at least one shot so the size is clear. Jewelry looks different at life size than in enlarged photos.
7. Lighting tips: Use diffuse natural daylight near a window for overall shots. Avoid direct flash, which washes out detail and creates glare on metal and stones. For marks and texture, use a small LED torch or phone light at a low angle to create shadows.
For a complete photography workflow covering lighting, focus, and angles, see how to photograph an antique for identification.
What Drives Jewelry Value (and What Does Not)
Value is a function of materials, craftsmanship, maker, era, condition, and market fashion. Here is what matters:
Metal weight and purity: Solid gold and platinum have intrinsic value based on weight and karat. Gold-filled and plated pieces have much lower scrap value but can still be collectible.
Gemstones: Natural, untreated stones in good condition command premiums. Old-cut diamonds are less fiery than modern cuts but are sought by collectors. Paste and rhinestones are valued for design, not materials.
Maker and signature: Signed pieces by known makers (Cartier, Tiffany, Lalique, Van Cleef & Arpels, or respected costume makers like Trifari) command multiples of unsigned equivalents.
Era and style: Georgian and Art Nouveau pieces are rare and collectible. Victorian mourning jewelry and Art Deco geometrics have strong markets. Mid-century costume jewelry is fashionable again.
Condition: Original condition with period findings, minimal repairs, and good patina is prized. Heavy polishing, replaced stones, and conversions (e.g., screw-backs replaced with posts) reduce value.
Provenance: Documented history, original boxes, receipts, and family stories add value—but only if verifiable.
Using Antique ID for Fast Jewelry Identification
Once you have a complete photo set, open Antique ID and upload your best overall shot and key detail images (marks, stones, clasps). The app analyses the design, any visible marks, construction style, and compares against known comparable sales to suggest an identification and a market value range.
This is a research tool, not a certification. Use the range to decide whether a piece is worth further investigation, negotiation, or a specialist consultation. Treat it as your first pass, not your last word.
Antique ID is especially useful for quickly sorting inherited jewelry, evaluating thrift or estate sale finds, and deciding which pieces merit formal appraisal. For high-value pieces, gemstone certification, insurance, or sale through a reputable dealer or auction house, you need a qualified jeweller or gemologist who can examine the piece, test metals, assess stones under magnification, and provide a written appraisal.
When to Escalate to a Jeweller or Gemologist
Photo identification has limits. Escalate to a professional when:
High suggested value: If Antique ID suggests a value over £500 or $600, get a second opinion from a qualified jeweller or appraiser.
Gemstone identity and treatment: Photos cannot conclusively identify natural vs synthetic stones, or detect treatments like heat, irradiation, or fracture filling. A gemologist with a loupe, microscope, and spectrometer is required.
Conflicting evidence: If the style says Edwardian but the construction and marks suggest 1980s, you need expert eyes to explain the discrepancy—and to tell you whether it is a reproduction or a clever marriage.
Insurance or sale: Insurers, auction houses, and estate solicitors require formal written appraisals from accredited professionals, not AI screenshots.
Certification for resale: If you plan to sell a piece as antique, especially at a higher price point, a written appraisal or certification protects you from disputes and gives buyers confidence.
Next Steps: Research, Appraisal, and Resale
Armed with photos, an Antique ID estimate, and knowledge of what you are looking at, your next steps depend on your goal:
Keep or insure: Get a formal appraisal for insurance purposes. An accredited appraiser will provide a written valuation with detailed descriptions and photographs.
Sell: Decide on a sales channel based on value and type. High-value signed pieces suit auction houses or specialist dealers. Mid-range pieces sell well on platforms like eBay, Etsy, or dedicated antique jewelry marketplaces. Costume jewelry and lower-value pieces can move quickly at antique fairs or online. For broader resale strategy, see best antiques to resell.
Research further: Use your photo-based identification as a starting point. Research the maker, look for similar sold examples, and learn the market for your piece's era and style. Knowledge builds confidence and protects your investment.
FAQ: Identifying Antique Jewelry From Photos
Can you tell if jewelry is real gold from a photo?
Photos can show you hallmarks and stamps (e.g., "750," "18ct," "14K") that indicate the claimed purity, but a photo cannot chemically test the metal. If marks are clear and consistent with the piece's style and wear, they are strong evidence—but not proof. For valuable pieces, a jeweller can test metal purity with acid or electronic testing. Gold-filled (GF, RGP) and gold-plated (GP, HGE) pieces are not solid gold despite their appearance; these marks are usually honest labels, not deceptions.
What does 925, 585, or 750 mean on jewelry?
These are fineness marks indicating metal purity in parts per thousand. 925 means 92.5% pure silver (sterling silver). 585 means 58.5% pure gold (14-karat gold). 750 means 75% pure gold (18-karat gold). You may also see 375 (9-karat gold, 37.5% pure) on British pieces, or 916 (22-karat gold, 91.6% pure) on antique wedding rings and some Asian jewelry.
Can Antique ID certify that a diamond or gemstone is real?
No. Antique ID provides a research-based estimate of what a piece is and its market value range, but it cannot certify gemstone identity, detect treatments, or distinguish natural from synthetic stones. Only a qualified gemologist with physical access to the piece and proper testing equipment can certify stones. Use Antique ID as a first pass, then escalate to a gemologist for high-value or uncertain stones.
Are costume jewelry pieces worth anything?
Yes—signed costume jewelry by recognised makers (Trifari, Coro, Eisenberg, Miriam Haskell, Weiss, Napier, and others) is collectible and can command strong prices, especially for rare designs or pieces in excellent condition. The value is in design, maker reputation, and condition, not in the base metal or rhinestones. Unsigned costume pieces have lower value but can still sell if the design is appealing. Research comparable sold listings and look for maker's marks to maximise value.
How do you photograph jewelry marks that are inside a ring or on a tiny clasp?
Use your phone's macro mode (often activated by getting very close to the object until the camera switches to macro automatically) or invest in a clip-on macro lens. Clean the area gently, then use a small LED torch or phone light held at a low angle—almost parallel to the surface—so the stamped letters cast shadows. This makes shallow marks visible. Take multiple shots at slightly different angles and lighting positions; one will catch the detail you need. Fill the frame with the mark so it is sharp and legible.
What if my jewelry has no marks at all—does that mean it is fake?
No. Many genuine antique pieces have no marks, especially smaller items, repairs, handmade pieces from before hallmarking laws, or jewelry from countries without mandatory marking systems. Absence of marks means you rely more heavily on style, construction, materials, and wear to authenticate the piece. Unmarked pieces can still be valuable if other evidence supports their age and quality. Conversely, the presence of a mark does not guarantee authenticity—marks can be forged or added. Trust the stack of evidence, not one clue alone.
How can you tell Art Deco jewelry from a modern reproduction?
True Art Deco pieces (1920s–1930s) show period construction: precise geometric symmetry, platinum or white gold settings, old European or transitional-cut diamonds (not modern ideal-cut brilliants), calibré-cut coloured stones, millegrain borders, and honest wear at contact points (ring shanks, clasp edges). Findings should be period-appropriate—no modern friction posts on earrings. Reproductions often use modern materials (rhodium plating, cubic zirconia, modern alloys), show machine precision without hand-finishing, and lack patina or wear. Check marks: genuine Deco pieces may show hallmarks consistent with 1920s–1930s assay offices and date letters; reproductions often have modern marks or none.
Should I clean antique jewelry before photographing it?
Light cleaning is fine: wipe with a soft, dry cloth to remove dust and fingerprints so marks and details are visible. Do not use harsh chemicals, abrasive polishes, or ultrasonic cleaners before identification—you might remove patina or damage fragile elements like old enamel, paste settings, or glued stones. Patina (age-related toning and oxidation in recesses) is part of the piece's history and helps authentication. Over-polishing can reduce value. Clean gently enough to see what you have, then photograph; deeper cleaning can wait until after identification and appraisal.
Bottom Line: Building Your Jewelry Identification Skills
Identifying antique jewelry from photos is a layered process: recognise the era's style language, check for metal marks and understand what they mean, examine construction methods and findings, assess stone cuts and settings, and cross-check all evidence for consistency. No single tell is definitive—Georgian paste can sit in a modern setting, old stones can be remounted, and high-quality reproductions exist—but the stack of evidence will guide you toward truth.
Photograph systematically: overall shots, back views, marks in macro, clasps and findings, stones, and scale. Use Antique ID for a fast first-pass identification and value range, then escalate to a jeweller, gemologist, or accredited appraiser when the stakes warrant it. This habit protects your budget, keeps your collection honest, and builds the expertise to buy and sell with confidence.
Whether you are holding an inherited locket, a thrifted Art Deco ring, or a Georgian mourning brooch, the clues are there in the metal, the stones, the solder joins, and the wear. Learn to see them, photograph them, and interpret them—and you will never look at old jewelry the same way again.
Identify antiques instantly with AI
Use the Antique ID app to photograph items, uncover their history, and estimate value before you buy or list them for sale.
Download Antique IDRelated articles
- How to Read Maker's Marks & Hallmarks: A Beginner's Guide A practical field guide to finding and reading maker's marks and hallmarks—plus how a clear mark photo helps Antique ID suggest what you have and a value range.
- How to Identify Antique Silver Hallmarks From a Photo A practical guide to photographing and identifying British, continental, and US silver hallmarks from photos—including how to spot electroplate and reproduction marks.
- How to Photograph an Antique to Identify & Value It Discover expert photography techniques to capture antiques for accurate identification—from lighting and angles to hallmarks that unlock value ranges.
- Antique vs Reproduction: How to Spot the Difference Practical clues that separate genuine antiques from modern reproductions—joinery, wear, marks, materials—and how a clear photo helps you decide what to buy, keep, or skip.
- How to Identify Antiques: Expert Tips to Recognize True Value Learn to read wear patterns, understand historical construction techniques, and decode maker's marks to authenticate antiques like a pro.